


 Whenever I watch a cooking or home improvement show on TV, I imagine myself being able to effortlessly mimic their results. Of course, I never follow through. So I recently promised myself I would attempt each project I like, one by one, no matter how long it takes. This project was one such thing on my to-DIY list.
I love browsing Pinterest — it’s the best resource out there for discovering ideas. It’s simple to use, and you can find anything and everything on it. You can create different “boards” to organize your finds, from food to DIY to travel, kids, fashion, and more.
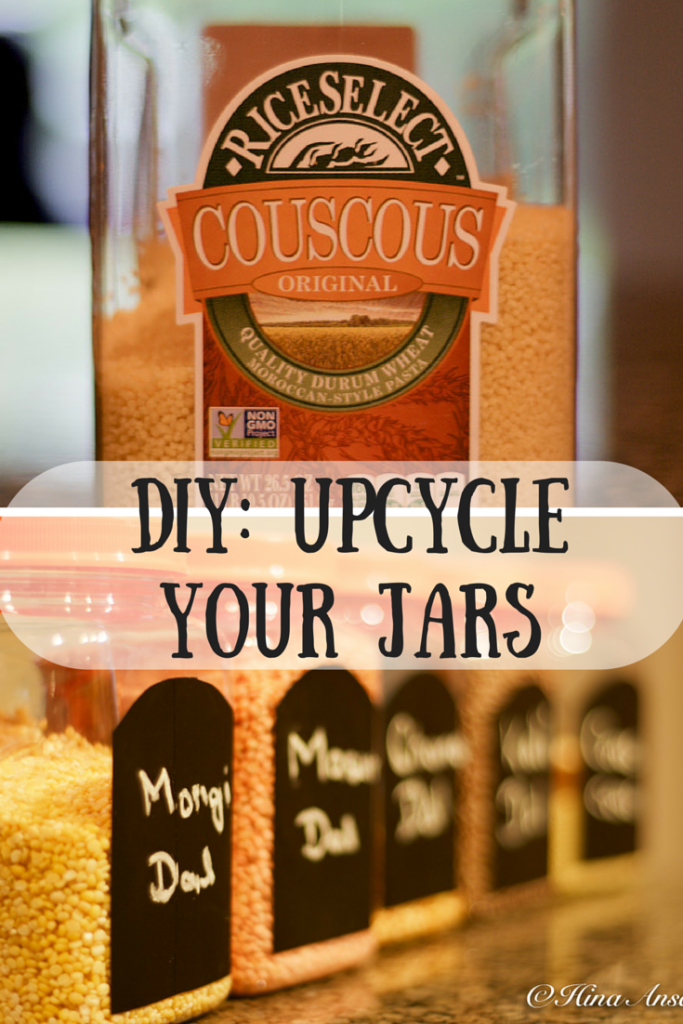
I’ve pinned probably hundreds of links for home improvement, but I’ve only tried a handful (thinking one day I’ll have time to go through the entire section and do something useful with it!). This week, the day finally came to try my long-awaited upcyclying jars project.
Items Required:
3M chalkboard tape
Chalk
Scissors
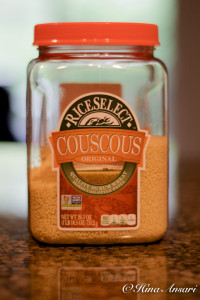
Empty jars (any kind you have — I used plastic couscous containers)
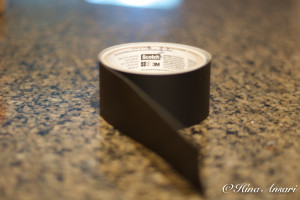
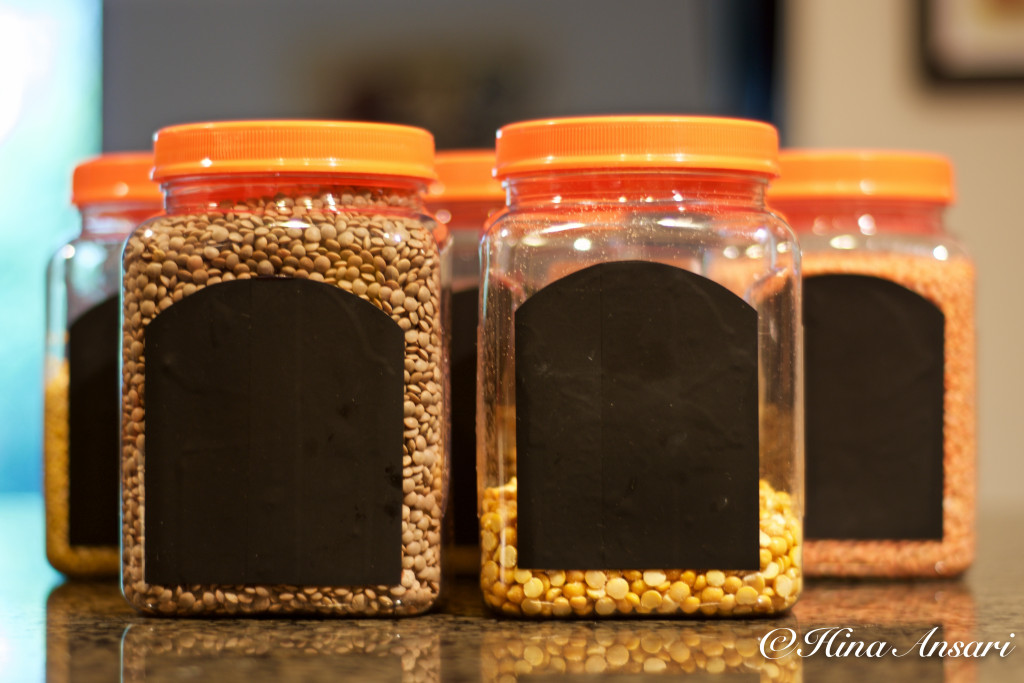
Take the jar you want to work with. Cut the chalk tape in a shape that will cover the labels on the jar. I cut the tape in an almost-rectangular shape, with the top end tapered and forming an arch (I cut this particular shape to hide the existing label on the jar). I placed two pieces of the tape side by side (as shown in the photo below) to cover the existing label. You can cut any shape you like. Another option is to remove the original label, which is especially easy on a glass jar. The final cut tape is shown below.
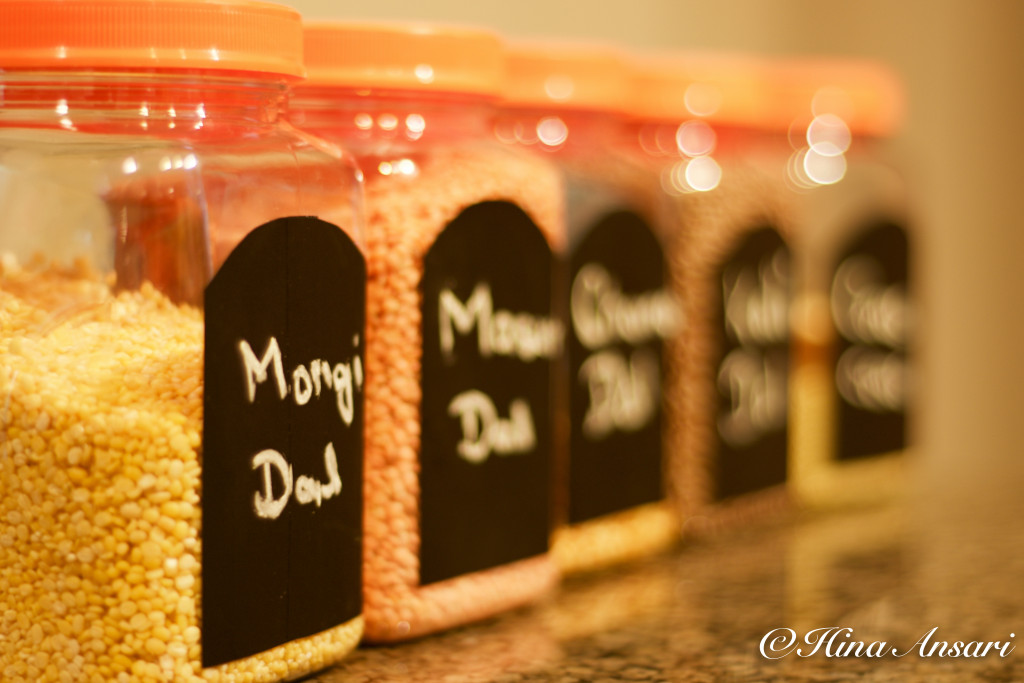
Once the desired shape is cut and ready to use, take the peel off the sticky side of the tape, paste it over the jar, and voila! You’re done. Here are my jars, with their lovely ready-to-use labels.
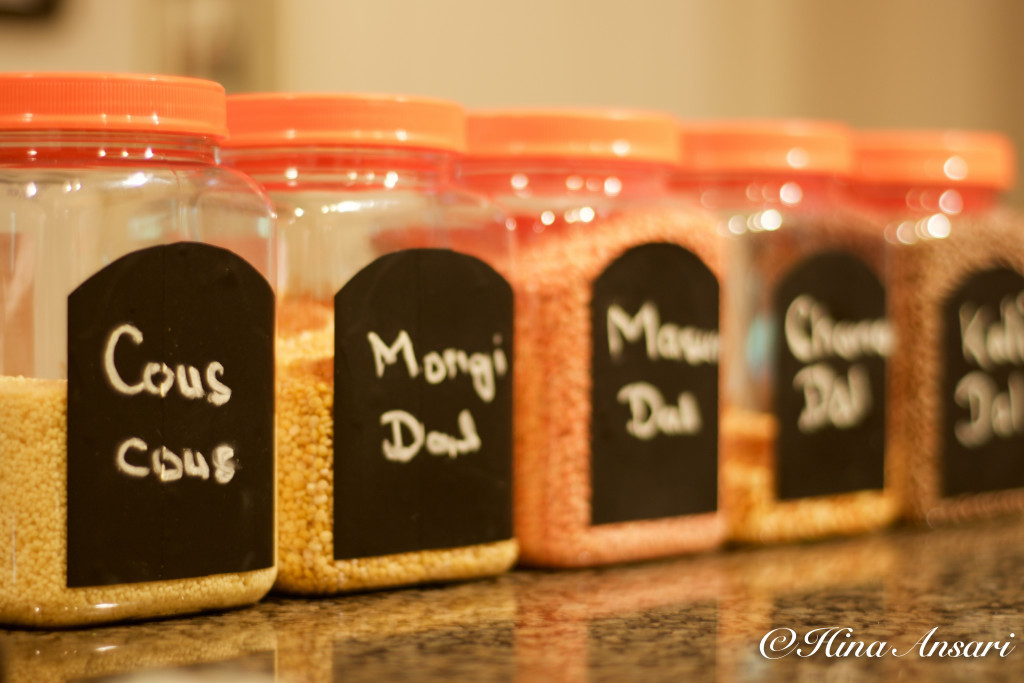
Once you’ve filled the jars (with lentils and beans in this case), use any colored chalk to write on the chalk tape. These jar are sitting pretty in my pantry now. Hope you will try this very simple DIY!
Have you tried any Pinterest projects recently? How did they turn out? Leave a comment below — I’d love to hear about it!


